3. Set up dev, test and prod
Describe the three clusters and the two Flink compute pools, and put the pipeline on production.
Part 3 of 10 in the Hello World tutorial · Follow this part in the guided wizard · Printable version
Your browser blocked the wizard window. How to allow it, or open the wizard in a new tab.
A normal setup has three environments: dev to build and try things, test to check a release, and prod for real use. You created a cluster for each in Part 1; now you describe them, look at the compute pools, and say which cluster the pipeline runs on.
Describe each cluster
- In the explorer, open Environments → Clusters. The three clusters are listed with their type.
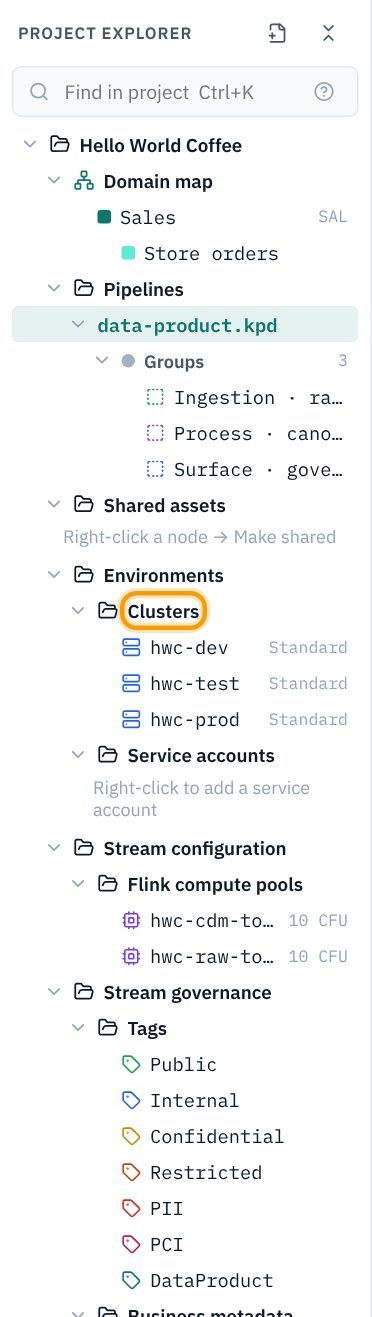
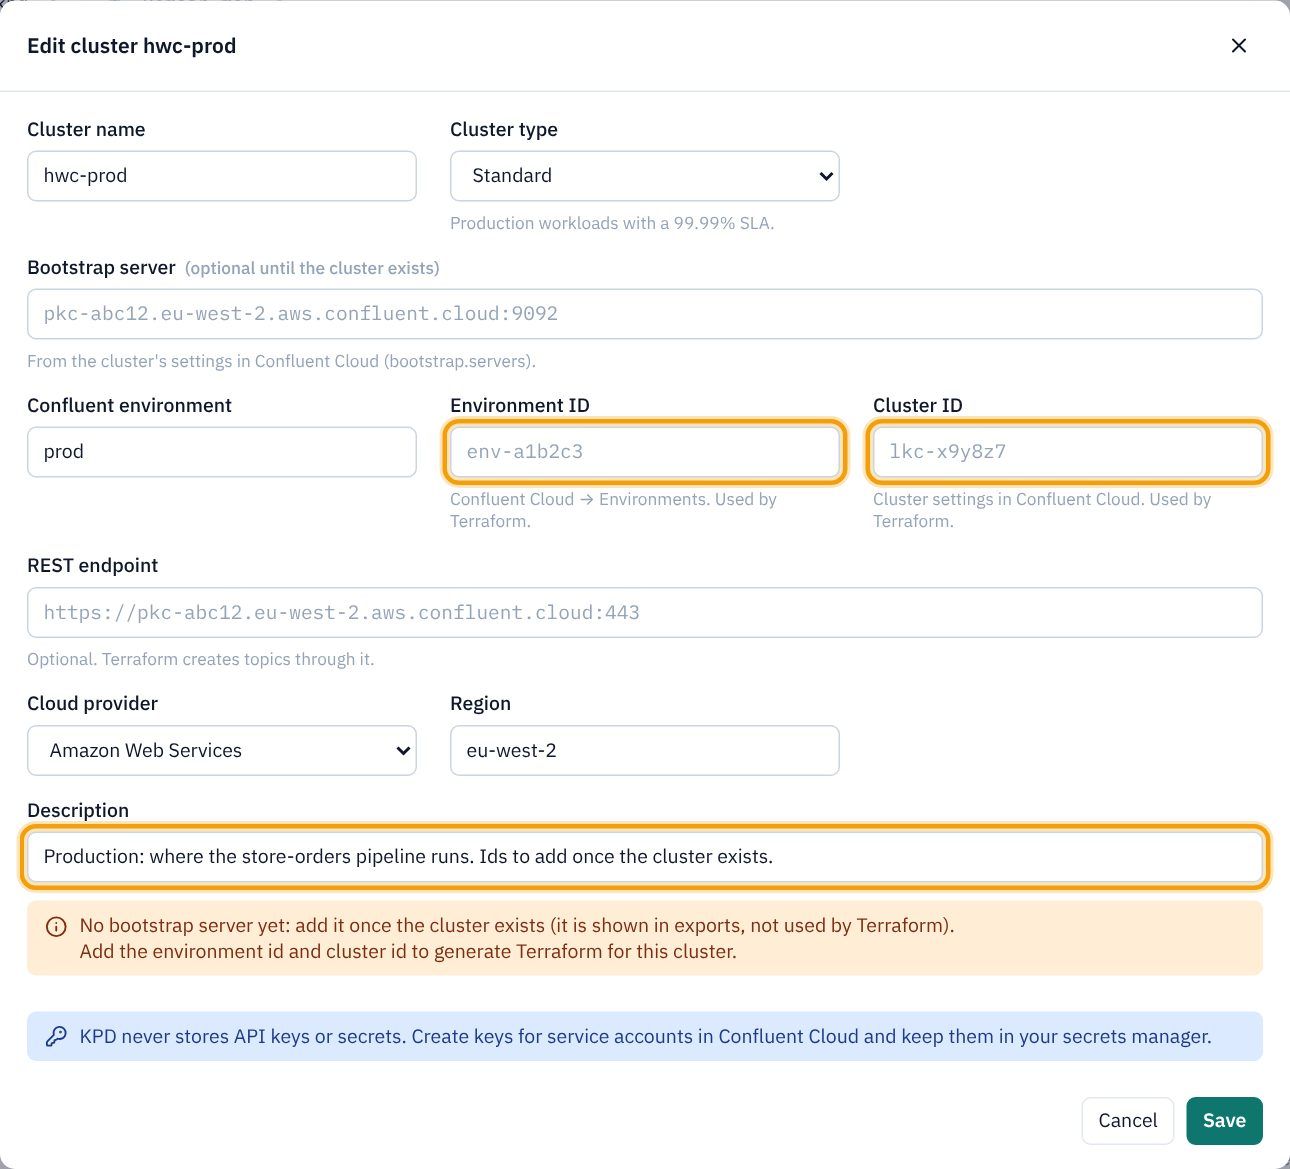
- Click hwc-prod. The Edit cluster dialog opens.
- Look at the fields: Bootstrap server, Environment ID (
env-…) and Cluster ID (lkc-…) come from Confluent Cloud once the cluster exists. Leave them empty for this tutorial: KPD reminds you about them (as information, not errors) and Terraform marks them as TODOs. - Description: type
Production: where the store-orders pipeline runs. Ids to add once the cluster exists.and click Save.
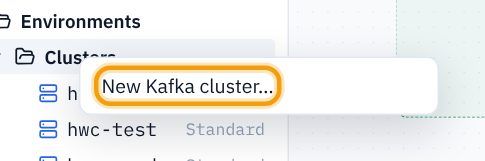
- Do the same for hwc-dev (
Development: for building and trying things out. Ids to add once the cluster exists.) and hwc-test (Test: for testing a release before production.).
Check the compute pools
Flink statements run in a compute pool, measured in CFUs (Confluent Flink Units). Each statement needs at least one, so a 10 CFU pool holds up to ten statements. Using one pool per stage keeps a busy stage from starving the other.
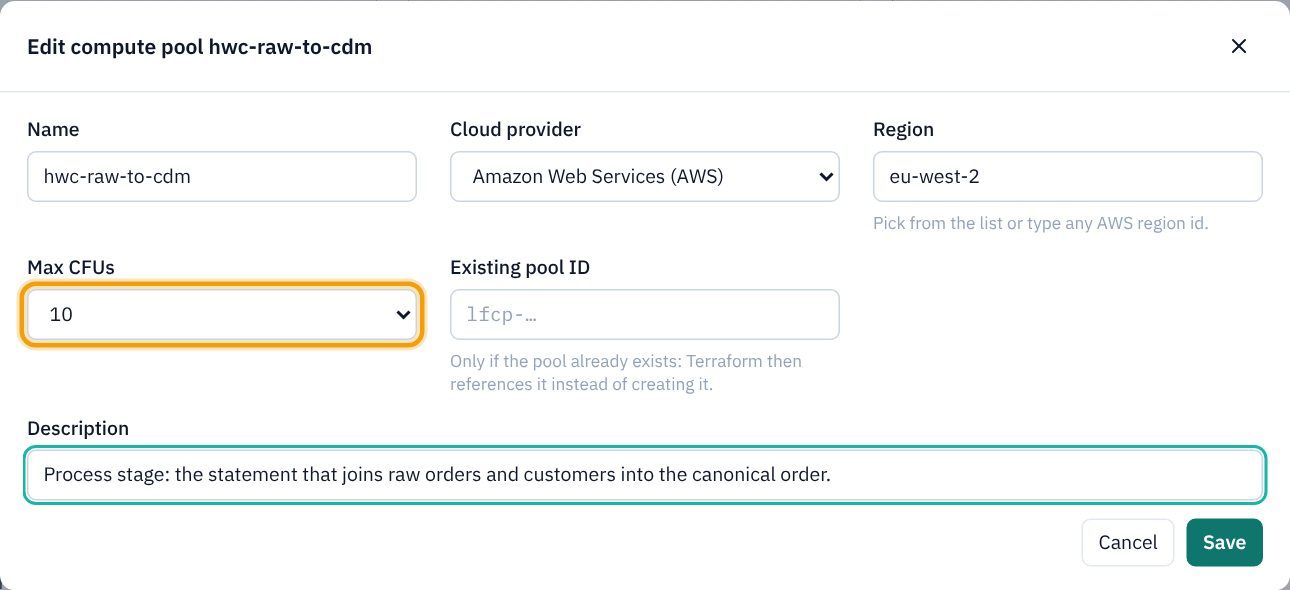
- Under Stream configuration → Flink compute pools, click hwc-raw-to-cdm.
- Check Max CFUs is 10. Leave Existing pool ID empty (fill it only if the pool already exists, and Terraform will use it instead of creating one).
- Description:
Process stage: the statement that joins raw orders and customers into the canonical order.Click Save. - Click hwc-cdm-to-surface and give it the description
Surface stage: the two data product statements.
Put the pipeline on production
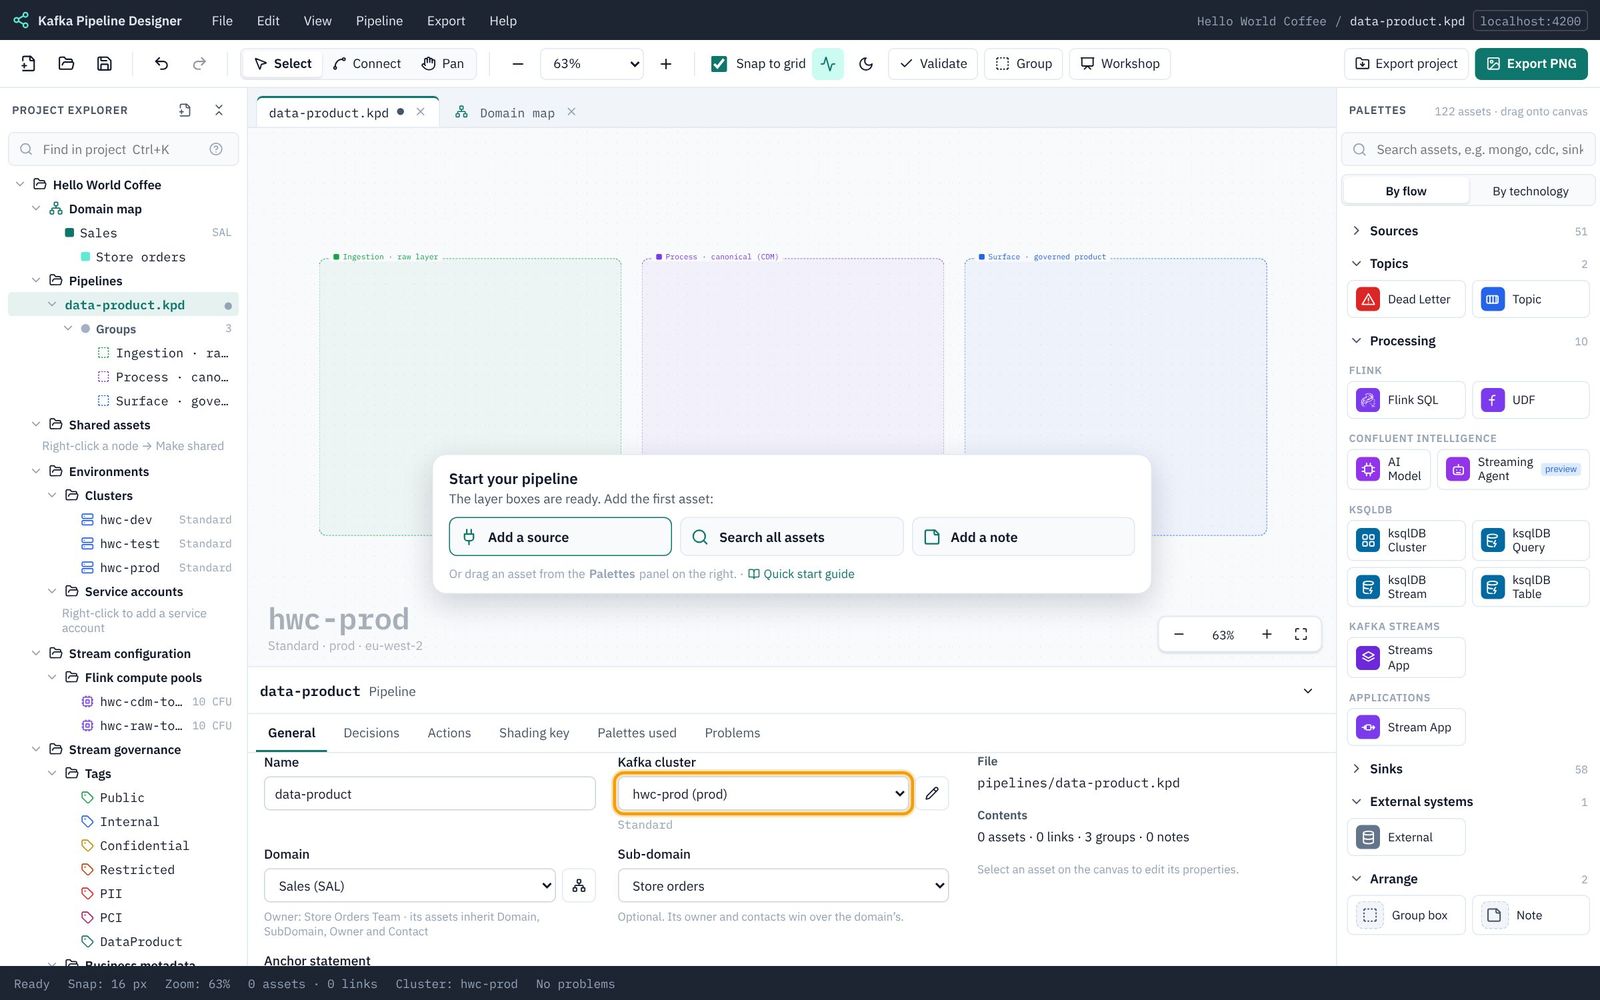
- Click an empty part of the canvas so the pipeline's settings show.
- Kafka cluster: choose hwc-prod (prod). The cluster's name now appears large in the corner of the canvas, so you always know where a pipeline runs.
hwc.prod.Save. Next: 4. Build the pipeline.